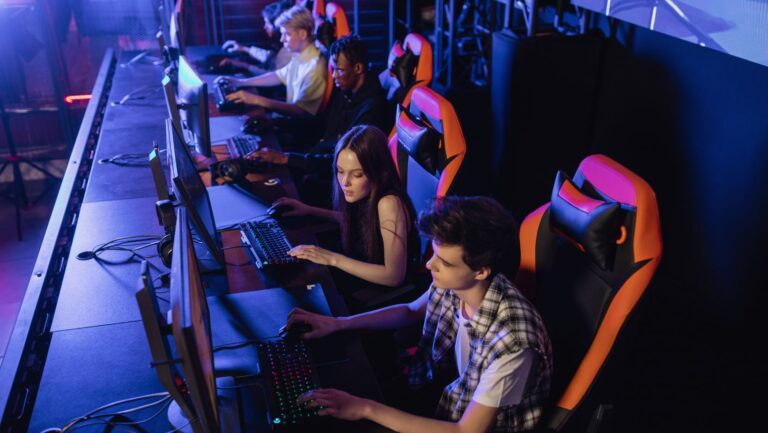
Playing isn’t just about beating the boss or topping the scoreboard anymore — it’s also about showing the world how you got there. Whether you’re chasing a personal speedrun, pulling off jaw-dropping combos, or just exploring pixelated landscapes with friends, chances are you’ve thought about recording or streaming it. Platforms like Twitch and YouTube have transformed gaming into a social experience, and more than ever, players are turning gameplay into content.
From casual let’s-plays to full-on Esports tournaments, screen recording has become a must-have skill. And if you’re on a PC, knowing how to record screen Windows-style can unlock your potential as a content creator.
Whether you’re livestreaming, making highlight reels, or uploading tutorials, here’s your easy guide to capturing gameplay on Windows.
Built-In Tools for Recording Your Screen on Windows
Let’s start with the basics. If you’re using Windows 10 or 11, you already have a screen recorder baked right into your system: the Xbox Game Bar.
This tool was made with gamers in mind. No extra downloads, no cost. Just hit Win + G and the Game Bar overlay pops up, complete with widgets for screen recording, performance tracking, audio levels, and more.
Want to start recording? Click the record button (look for the circle icon in the Capture widget), and you’re rolling. A small timer shows your progress, and when you’re done, hit stop or use Win + Alt + R to wrap it up. Your gameplay clip is then saved automatically to your Videos folder. Simple and efficient — it’s the built-in screen recorder Windows provides out of the box.
Besides being free and easy to use, the Game Bar is light on resources. It won’t yank you out of your game or drag your system down. You can also take screenshots, adjust volume levels, and even control Spotify while in-game.
But — and there’s always a but — it’s not perfect.
The Game Bar only records when a game or certain apps are active. It won’t record your desktop, file manager, or many system windows. And it’s got a time limit — typically capped at two hours per clip (though you can bump it up to four in settings). So if you’re planning an esports marathon session or need to capture something outside a game window, it might leave you unsatisfied.
Why Use Third-Party Screen Recorder for Windows
Here’s where third-party tools shine. If you want flexibility and power beyond the basics, using a dedicated screen recorder for Windows is the way to go.
Tools like OBS Studio, for example, are fan favorites for a reason. There’s no time limit, you can record full desktops, specific apps, or even multiple screens at once. Want to include a browser walkthrough mid-stream or show off a custom overlay? No problem.
The real perk? Features. A good third-party Windows screen recorder gives you scene management, audio mixing, webcam input, and even live Twitch or YouTube streaming support. Many of them integrate with popular platforms so you can broadcast in real time — overlays, alerts, chat widgets and all — while recording locally at high quality.
Some programs like Movavi Screen Recorder even toss in basic video editing features, so you can cut out dull moments, trim your footage, or prep your video before uploading. That’s a win for content creation workflows.
If you’re into esports games or want polished gameplay tutorials, third-party tools let you step things up with high-res output, picture-in-picture layouts, and fine-tuned controls. It might take an extra five minutes to set everything up, but the result? A more professional video that you’ll be proud to share.
Tips on Recording Your Screen While Gaming
Getting great footage doesn’t have to be complicated. Here are some practical tips to help you record without frying your PC or ending up with unusable clips.
Choose the Right Software
It all starts with the right tool. Match your software to your PC’s specs and your recording goals. High-end programs (like the aforementioned OBS Studio and Movavi Screen Recorder) offer tons of customization. Others like Bandicam are straightforward and system-friendly.
Need separate audio channels? Want to record in 4K? Double-check that your software supports your preferences before hitting record.
Optimize Your Settings
You might dream of buttery-smooth 1080p at 60 FPS — but if your hardware starts struggling, it’s okay to lower your settings. Try 720p or 30 FPS for a more stable performance.
Bitrate matters too. Higher bitrates mean crisper video but larger file sizes. Most screen recording tools come with quality presets — start there and tweak if needed.
Use Hardware Encoding if You Can
If your graphics card supports it (like NVIDIA’s NVENC or AMD’s VCE), enable hardware encoding. It offloads video processing to the GPU instead of clogging up your CPU — meaning smoother gameplay and screen recording with fewer hiccups.
This is especially useful when capturing intense gameplay moments or high-action scenes.
Close Unnecessary Background Programs
Your PC’s performance can take a hit if you’ve got 47 tabs open and Discord updating in the background. Before you hit record, shut down anything that isn’t essential. Activate Game Mode in Windows to reduce distractions and prioritize your gaming session.
Check Your Audio Setup
Double-check your input/output devices in your screen recording software. A headset helps isolate your voice from the game audio and prevents echo.
If you’re doing commentary, record a quick test clip to balance your mic and in-game volume levels. Nothing kills a vibe faster than being too quiet or drowned out by explosions.
Adjust In-Game Settings
If your recording looks choppy, consider lowering some in-game graphics settings. Reducing shadows, textures, or draw distance can lighten the system load, improving both gameplay and recording smoothness.
Your viewers won’t notice slightly downgraded visuals as much as they’ll notice a stuttering mess.
Mind Your Storage Space
Video files are hefty. A couple of long gameplay sessions can eat up dozens of gigabytes. Make sure you’ve got enough room on your drive — and better yet, record to an SSD if you can. It handles large file writes better and keeps things running smoothly.
Once you’re done, back up or delete old files regularly to stay organized and avoid that dreaded “disk full” notification mid-battle.
Test Before the Real Deal
Before you dive into a livestream or big recording session, do a test run. Play for a few minutes, record, and watch it back. Check audio levels, video quality, and any signs of lag or frame drops. A little prep now saves a lot of regret later.
Final Thoughts
Thanks to tools like the Xbox Game Bar, even complete beginners can dive into screen recording without spending a dime. And for those aiming higher — whether for YouTube content, Twitch livestreaming, or pro-level Esports replays — there’s a rich world of third-party screen recorder Windows apps ready to help you shine.
Take your time to explore what works best for you. Tweak those settings. Try a few test runs. Find the balance between quality and performance. Before long, you’ll not only be playing games — you’ll be creating content, building an audience, and maybe even turning your gameplay into a side hustle.


